
For contractors
2 minUpload a certificate of insurance
Upload a COI for a subcontractor and go straight to the review screen after COI Compass reads the file.
Anyone on the team
- 1
1.Start from the subcontractor record
Open the subcontractor detail page. In the compliance documents area, click "Upload COI". If the subcontractor has no certificate yet, the empty state also shows "Upload COI yourself". If certificates are already on file, the history section shows "Upload new COI".
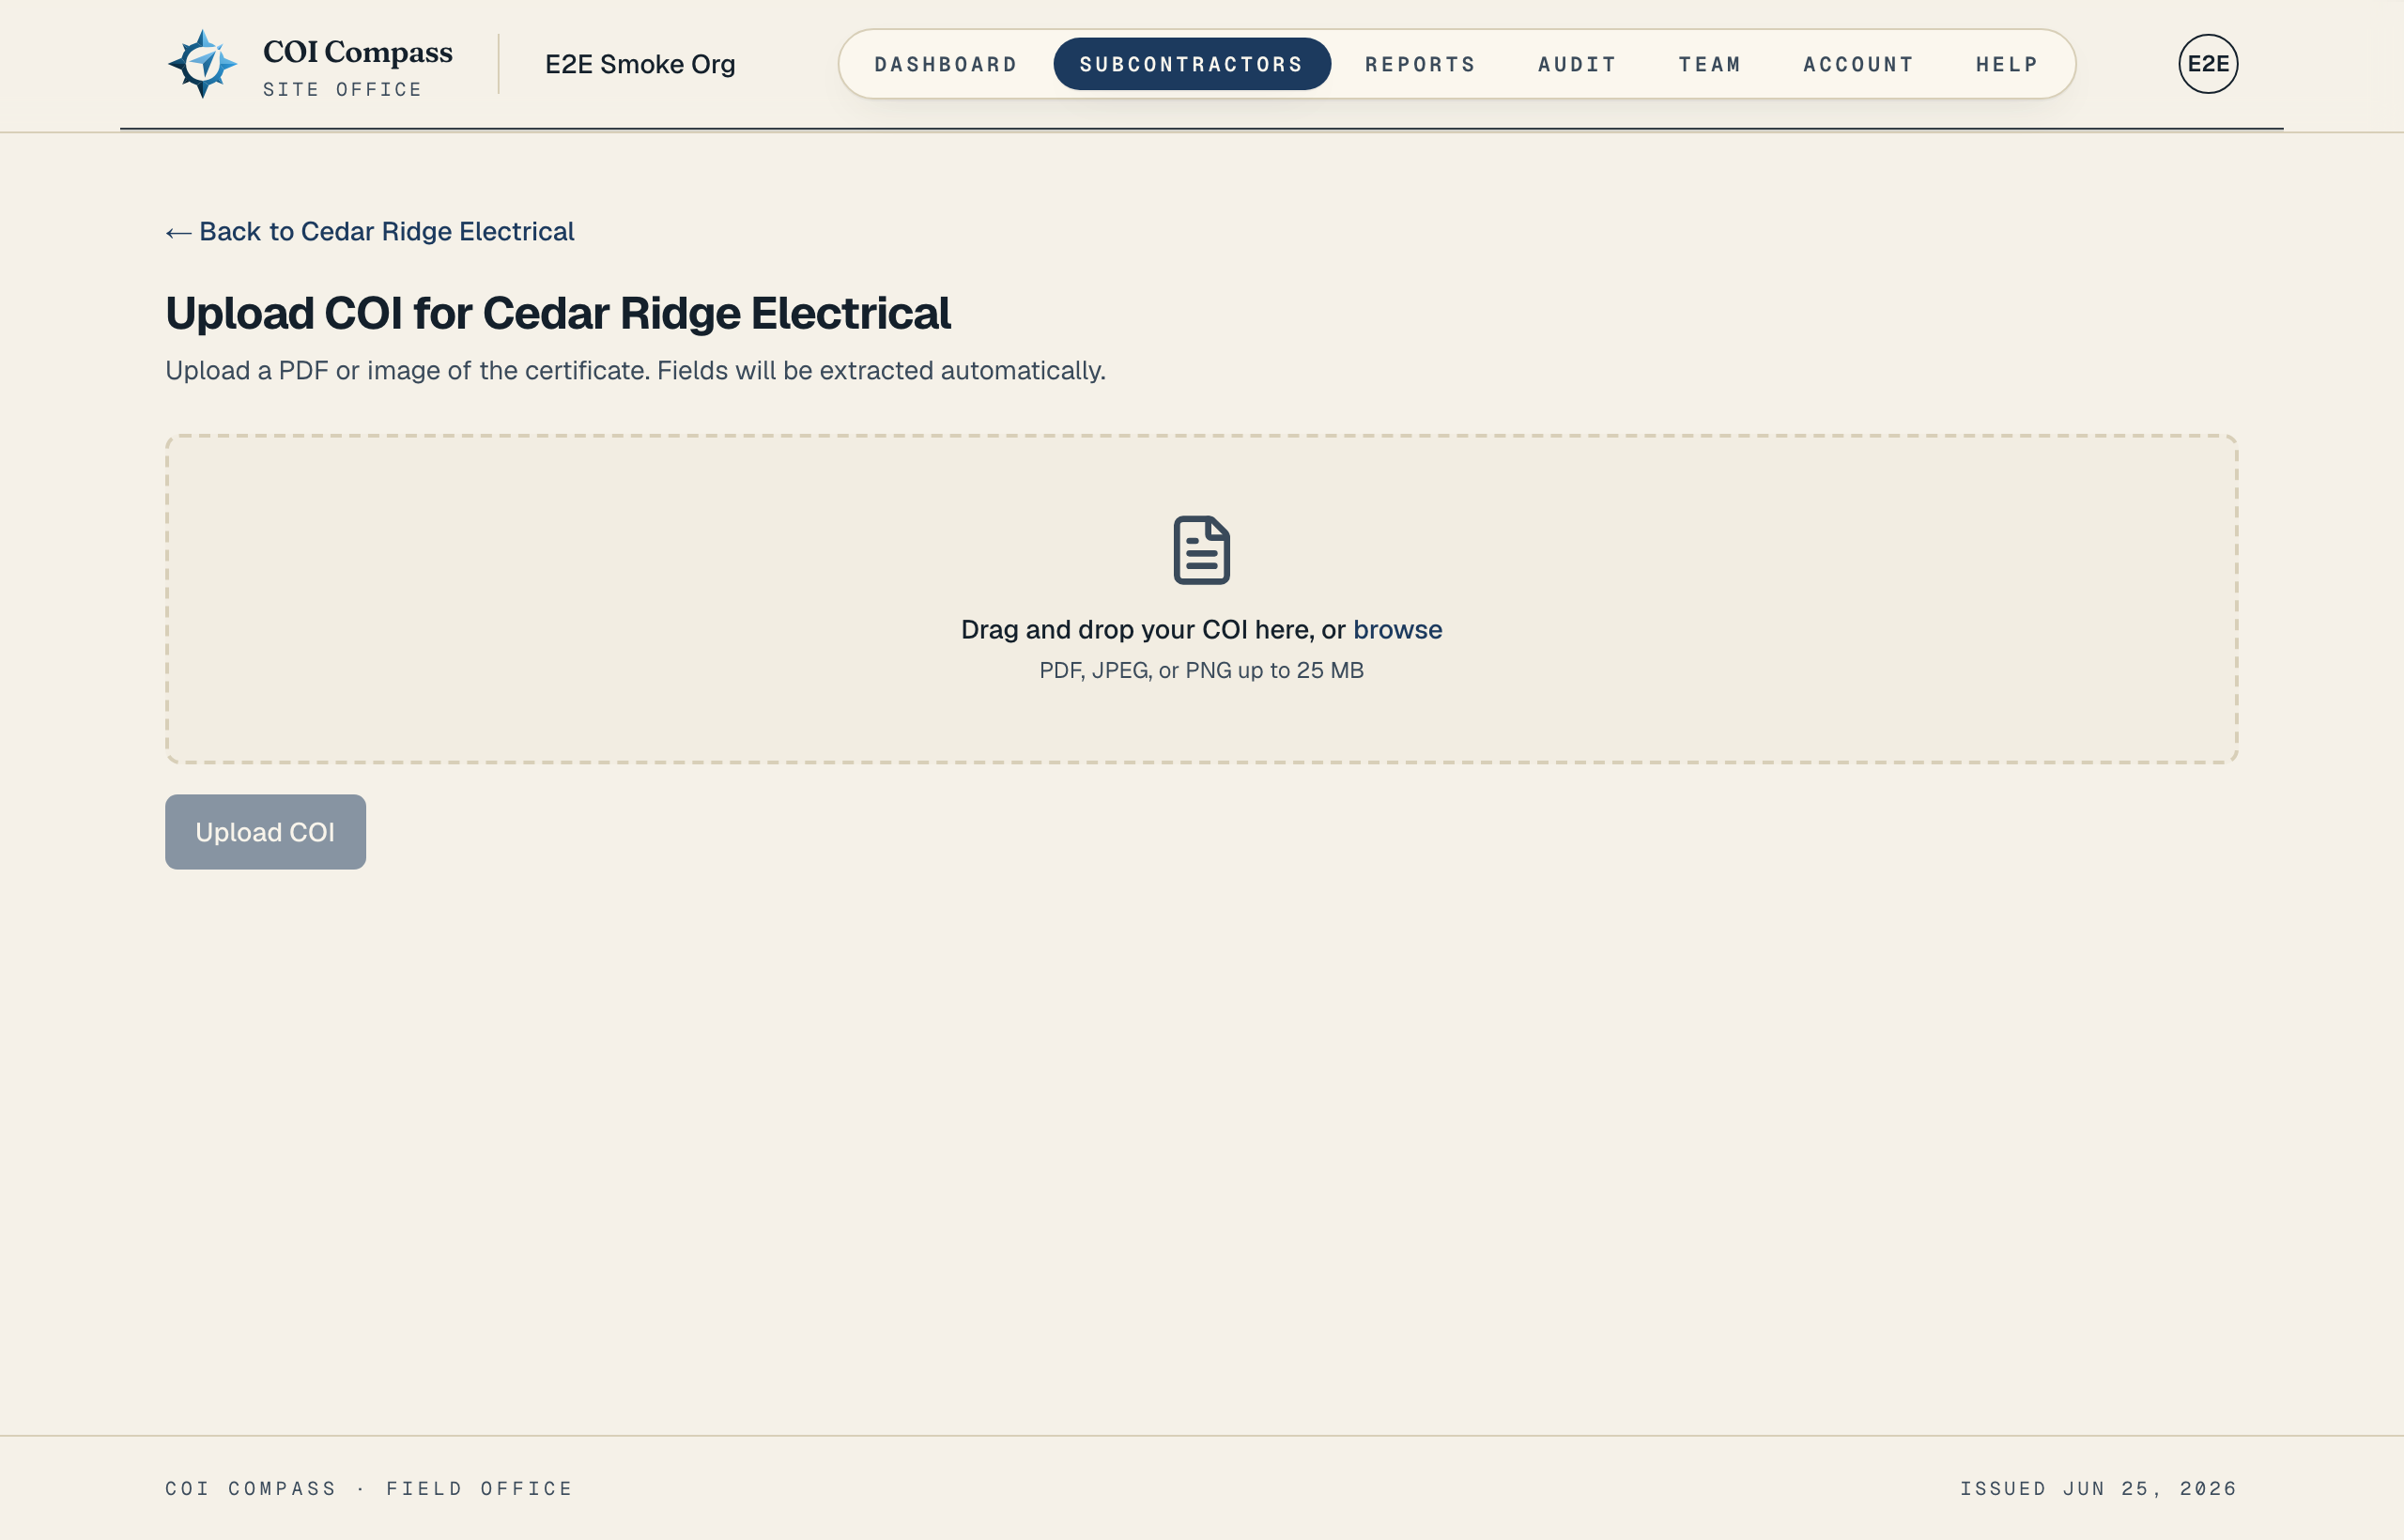
The upload page heading starts with "Upload COI for", followed by the subcontractor name. Confirm the company name before you choose the file.
- 2
2.Choose the COI file
Drag the certificate into the dashed upload zone, or click "browse" to pick it from your computer. The file picker accepts PDF and image files.
Accepted files are shown on the page as "PDF, JPEG, or PNG up to 25 MB". - 3
3.Upload and let COI Compass read it
After the file appears under "Selected file", click "Upload COI". The button changes to "Reading your COI…" while COI Compass uploads the file, extracts the certificate fields, and runs the requirement check.
- 4
4.Continue on the review screen
When extraction finishes, you are taken straight to "Review COI". Use that screen to compare the document preview with the extracted fields before approving or rejecting the certificate.
Common questions
Can I upload a photo or scan instead of a PDF?
Yes. The upload accepts PDF, JPEG, and PNG files up to 25 MB. A clear scan or image works best because COI Compass needs to read the text on the certificate.
What if I am not sure which subcontractor the COI belongs to?
Use the smart upload flow instead. It reads the named insured and either files the COI automatically or asks you to attach it to the right subcontractor.